Stuck-On Trash Can Residue: What Actually Removes It
July 14, 2026 · Bin Bros KC Team
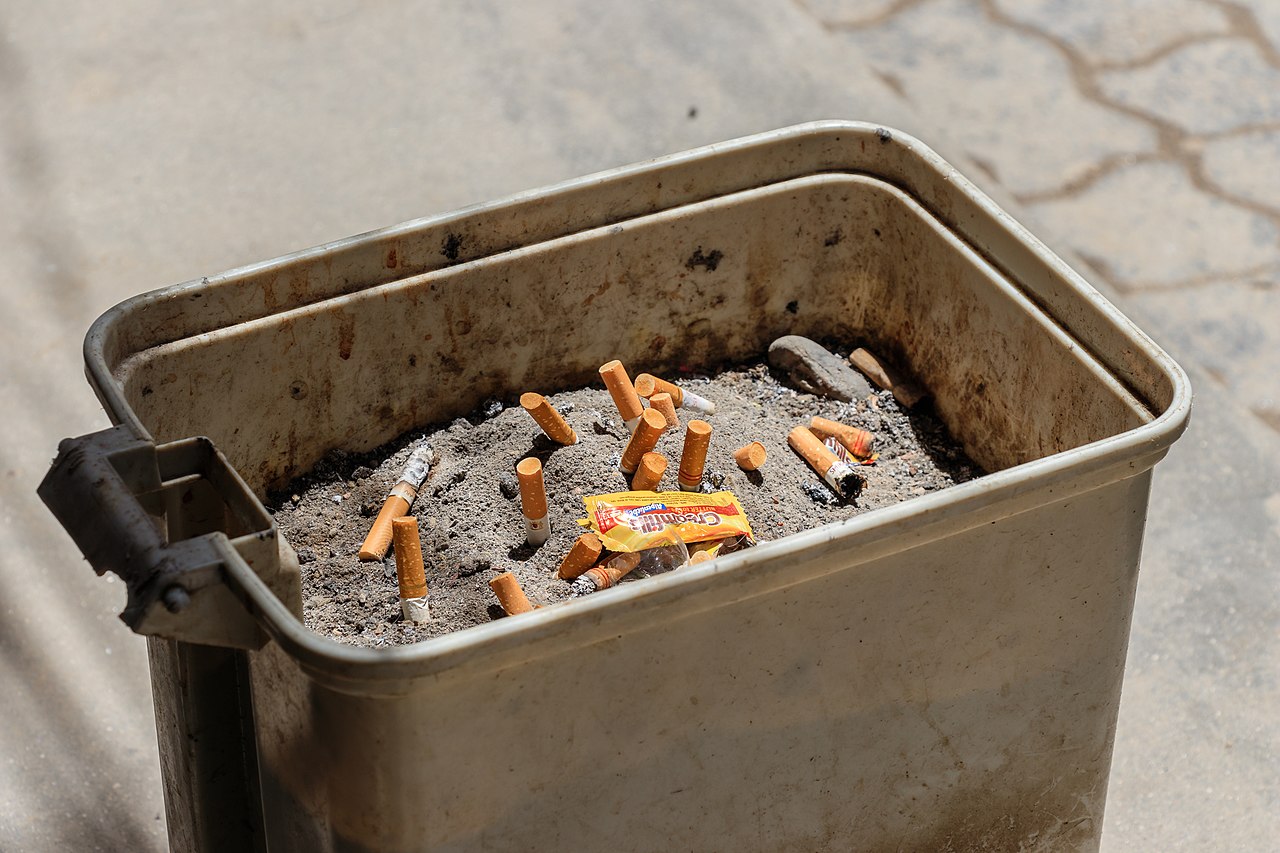
Grimy, neglected curbside bins with built-up residue coating the plastic by Bijay Chaurasia, Wikimedia Commons, CC BY-SA 4.0

A customer near Liberty (64068) sent us a photo last August: the bottom of her kitchen-to-curb bin had a black, shiny ring baked onto the plastic. She had rinsed it three times with the garden hose and scrubbed with dish soap. It would not come off. She wanted to know if the bin was ruined.
It was not ruined. It had stuck-on residue, and stuck-on residue does not respond to the things most people try first. Understanding why is the whole fix.
Something welded to the bottom of your bin? Let the Bros clean it.
200°F water. No soap, no chemicals, pet-safe. We come to your curb and haul the funk away.
Book in 60 seconds — 50% off with FIRST50 →What stuck-on trash residue actually is
The gunk welded to the bottom of a neglected bin is not one thing. It is three problems stacked together.
The first layer is dried organic matter: liquid that leaked out of trash bags, fats from meat packaging, sugars from spoiled fruit and soda. When that liquid dries, it does not flake away like mud. Fats and sugars cure into a varnish-like film that bonds to the plastic.
The second layer is biofilm. Bacteria colonize that film and build a slimy protective matrix around themselves, the same way plaque forms on teeth. Biofilm is engineered by the bacteria to resist being rinsed off. We covered the biology of this in bacteria buildup in trash cans, and it is the reason a rinse that looks like it worked leaves the smell behind within a day.
The third layer is whatever settled on top: coffee grounds, a spilled bag of kitty litter, sawdust from a garage project. That top layer is loose. The two layers underneath are the ones that fight back.
The three kinds of stuck-on residue in KC bins
We see the same three patterns across the Northland, and each one needs a slightly different approach.
Baked-on residue (the summer problem)
From June through September, a bin sitting against a south or west wall in Gladstone (64118) or Staley Farms hits internal temperatures north of 130°F on a sunny afternoon. That heat does to fats and sugars what an oven does to a spill you forgot to wipe up. It polymerizes them, curing the film harder and darker. By the time you notice the black ring, the sun has essentially fired it onto the plastic like a glaze.
Frozen residue (the winter problem)
In January and February, the opposite happens. Sludge in the bottom of the bin freezes to the walls in a solid, mounded sheet. You cannot scrub it, you cannot pour it out, and a cold hose just bounces off ice. We get calls from homes near Shoal Creek (64157) every winter about bins that "won't empty" — the last few inches froze to the bottom and the truck's tipper could not shake it loose. More on the seasonal side of this in winter frozen trash bag tips.
Layered residue (the neglect problem)
This is the slow one. A bin that has never been cleaned builds sediment the way a lake bottom does: thin deposits, one on top of the next, over months. Each garbage day adds a little. By month six there is a compacted crust a quarter-inch thick. This is the most common type we find, and the homeowner almost never realizes it accumulated because it happened gradually.
Why a rinse and a pressure wash fail
Here is the part that frustrates people. The two most common DIY attempts are the two least effective against cured residue.
A cold garden-hose rinse does nothing to biofilm. The bacteria built that matrix specifically to survive water flow. Cold water also cannot soften cured fat, so it slides right over the baked-on layer and drains away looking like it accomplished something.
Cold pressure washing seems like it should work because it is forceful. It mostly does not, and it can make things worse by blasting biofilm into a fine mist you then breathe in. We wrote up the full reason in the pressure washing myth: the problem was never a lack of pressure. It is a lack of heat and dwell time.
The other tempting shortcut is bleach. Please do not. Bleach reacts with the ammonia already present in decomposed trash and produces chloramine gas, which is genuinely dangerous to breathe in a closed bin. It also disinfects the surface without dissolving the organic layer the bacteria live in, so the colony rebuilds within days. The chemistry is laid out in the bleach mistake.
What actually removes each type
The residue comes off when you attack the bond, not the surface. Three tools do that: heat, dwell time, and mechanical agitation.
Heat is the main event. Water at 150°F and up softens cured fat and breaks apart biofilm in a way cold water never will. This is the core of how a professional service works, and it is the one variable a homeowner usually cannot match with a garden hose. Our crew runs water around 200°F at pressure and captures the wastewater so it does not run into the storm drain — no soap, no harsh chemicals, just heat and volume.
Dwell time does the quiet work. Whatever you use, it needs minutes to penetrate, not seconds. Pour hot water in, let it stand, come back.
Agitation finishes it. After the bond is softened, a stiff brush lifts the loosened layer off the plastic. Before it is softened, scrubbing just polishes the crust.
A DIY method that works on baked-on and layered residue
If you want to tackle it yourself before deciding whether to hand it off:
- Boil a full kettle or stockpot and pour it slowly over the residue at the bottom of the bin. Cover the whole crusted area.
- Add a cup of white vinegar or an enzyme-based cleaner, tip the bin to swish it across the residue, and let it stand 15 to 20 minutes. The heat softens the cured layer; the dwell time lets it penetrate the biofilm.
- Scrub with a long-handled stiff brush, working the loosened crust off the walls and floor of the bin.
- Rinse and drain onto pavement, not grass, so you are not soaking your lawn in bacterial runoff.
- Flip the bin upside down in the sun with the lid open for a few hours. UV finishes off surviving bacteria and, more importantly, the bin dries fully. A wet bin re-attracts flies and restarts the film.
For a stubborn baked-on ring, a paste of baking soda and a little water left on the spot for 20 minutes before the hot-water pass gives the brush something to bite into.
Handling frozen residue
Do not chip at frozen sludge with anything metal — you will crack cold, brittle plastic. Move the bin into a garage in Kearney (64060) or Parkville (64152) for a few hours to thaw, or pour hot (not boiling, to avoid thermal shock on frozen plastic) water in to melt it loose, then follow the steps above. Prevention matters more here: a clean, dry bin has almost nothing left to freeze.
When it is worth handing off
The honest math: a genuine DIY deep clean of a badly layered bin takes 30 to 45 minutes, a full kettle or two, a dedicated brush you will not want to use for anything else, and a willingness to be elbow-deep in it. For a lot of homeowners that is a fine Saturday task once. Doing it every six to eight weeks, which is what actually keeps residue from returning, is where it stops being worth the trouble. We broke down the real cost-and-time comparison in DIY vs. professional bin cleaning.
The tipping point is usually the baked-on ring that has survived a summer. Once residue has cured hard onto the plastic, matching 200°F water at a home sink is difficult, and that is the temperature that reliably lifts it.
Frequently asked questions
Why won't stuck-on trash residue rinse off with a hose? Cold water cannot soften cured fat, and it cannot break the biofilm bacteria build to protect themselves. The rinse slides over the top layer and drains away, leaving the bonded residue and the smell behind. Heat and dwell time are what break the bond.
Does pressure washing remove baked-on garbage residue? Cold pressure washing usually does not, because the problem is cured fat and biofilm, not a lack of force. It can also aerosolize bacteria into a mist you breathe. Hot water at 150°F or higher, given time to sit, is what actually loosens the residue.
Can I use bleach to clean out a dirty trash can? No. Bleach reacts with the ammonia in decomposed trash to form chloramine gas, which is dangerous to breathe in an enclosed bin. It also only disinfects the surface without dissolving the organic layer, so the smell returns within days.
How do I get frozen sludge off the bottom of my bin in winter? Thaw it first — move the bin into a garage or pour hot (not boiling) water in to melt the ice loose, then scrub and drain. Never chip frozen residue with a metal tool, because cold plastic cracks easily.
How often should I deep clean to keep residue from coming back? Every six to eight weeks for most Northland households. Residue and the bacteria in it rebuild to odor-producing levels within that window, so a single clean fixes today's problem but not next month's.
What to do this week
If your bin has a crust you have already given up on:
- Try one hot-water-and-dwell-time pass this weekend using the DIY steps above. It works on most baked-on and layered residue.
- If the ring survives, that is the signal it has cured harder than a home sink can reach. Book a deep clean — code
FIRST50gets your first clean at half off. Sign up here. - Get on a six-to-eight-week rhythm so it never rebuilds to this point again.
Related reading: why your trash can smells like ammonia, the bacteria buildup behind the smell, and the KC Northland trash day map for pickup schedules across Liberty, Gladstone, Parkville, Kearney, and Smithville.
Something welded to the bottom of your bin? Let the Bros clean it.
200°F water. No chemicals. Pet-safe. No contracts. Code FIRST50 takes 50% off your first clean.